Field Guide
Freeze-Dried Meat for Camping and Backpacking: What Actually Works
The weight argument is real. The packaging argument is not. Here is the honest version.
Freeze-dried meat has the best protein-to-weight ratio of anything you can reasonably carry into the backcountry. That part of the sales pitch is true, and the numbers back it up.
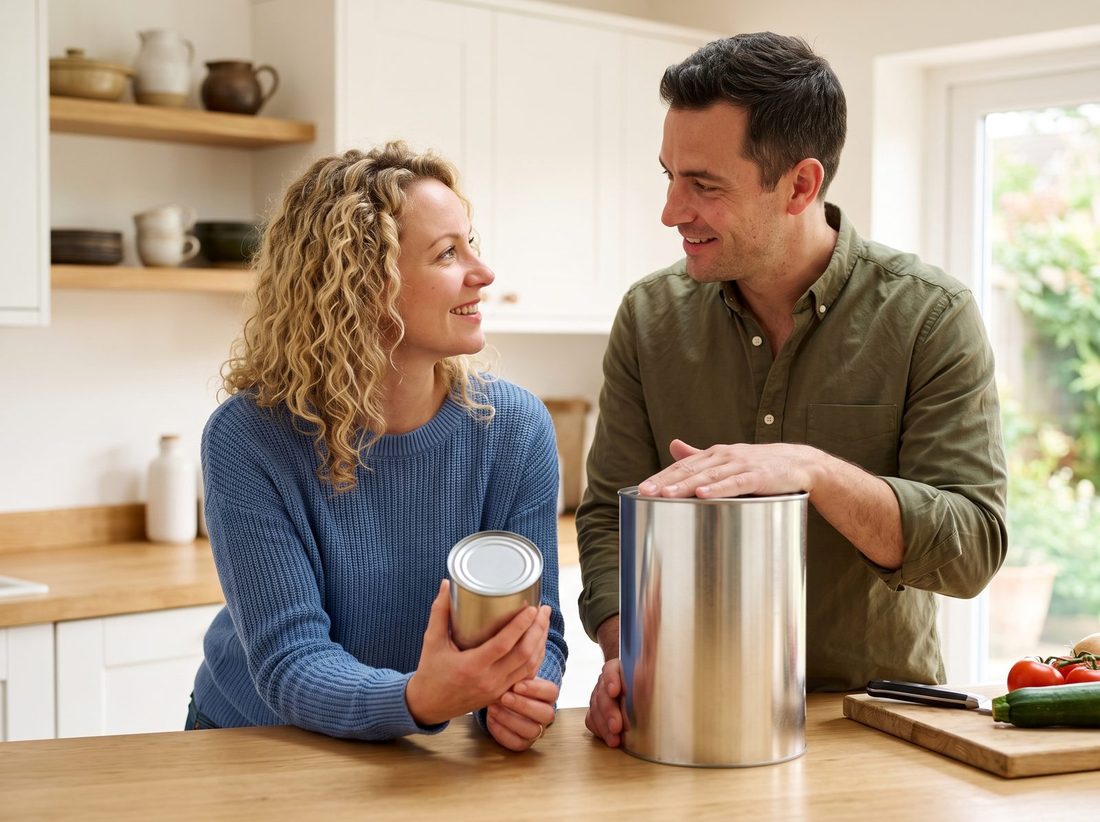
What almost nobody tells you is that the product, as it arrives at your door, is completely wrong for a backpack. It comes in a steel can. A #10 can is roughly a gallon of sheet metal. You are not carrying that up a mountain.
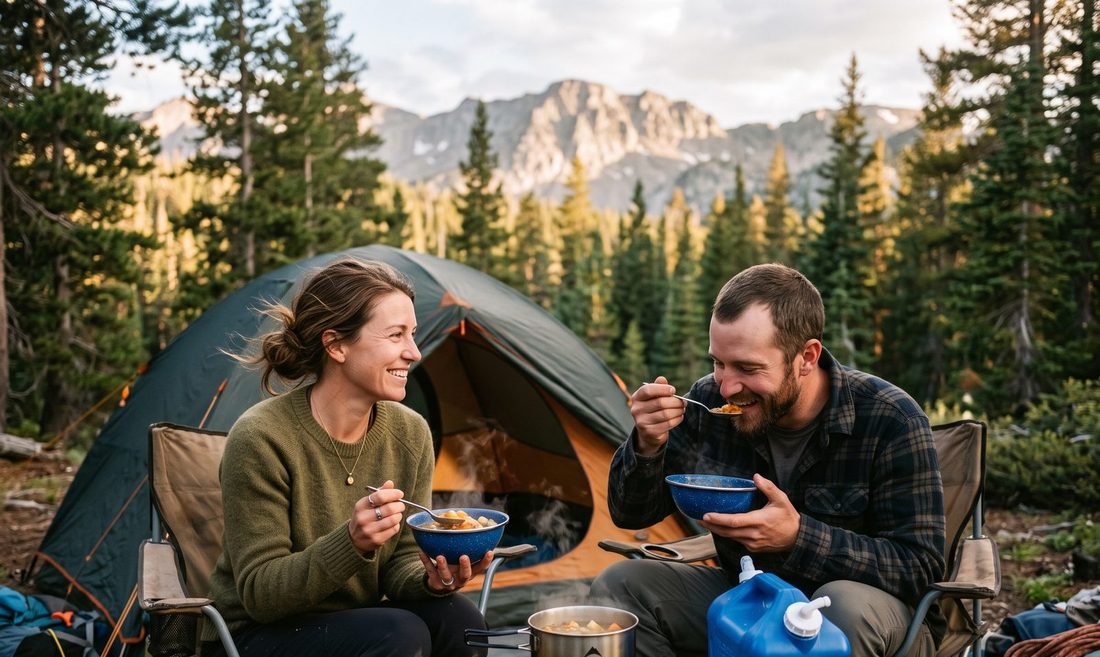
So this guide is in two halves: why freeze-dried meat is worth the trouble on the trail, and the specific work you have to do to make it trail-ready.
Real meat, 41 grams a serving
The food is right for the trail. The can it ships in is not. That gap is the whole job.
The weight math, using real numbers
Fresh ground beef is about 64% water, a figure that comes from the USDA. Freeze-drying removes essentially all of it and leaves the protein, fat and minerals behind, fully cooked and shelf-stable.
Here is what that means in your pack, taken from the actual nutrition panel rather than a marketing page:
| Per serving (½ cup dry) | Ground beef |
|---|---|
| Dry weight | 41 g (1.45 oz) |
| Protein | 22 g |
| Calories | 260 |
| Calories per gram carried | about 6.3 |
| Protein per 100 g carried | about 54 g |
Six and a half calories per gram is genuinely strong for a protein source. For comparison, the practical target most long-distance hikers use is around 125 calories per ounce, or roughly 4.4 calories per gram, across the whole food bag. Freeze-dried meat clears that comfortably while also being one of the few trail foods that delivers serious protein rather than just carbohydrate and fat.
The protein number is the one that matters most on multi-day trips. Trail food skews heavily toward sugar, oats and instant noodles because they are cheap and light. That works for energy and fails for recovery. Twenty-two grams of complete protein in a 41-gram package is a genuinely hard thing to beat.
The problem: it ships in a can
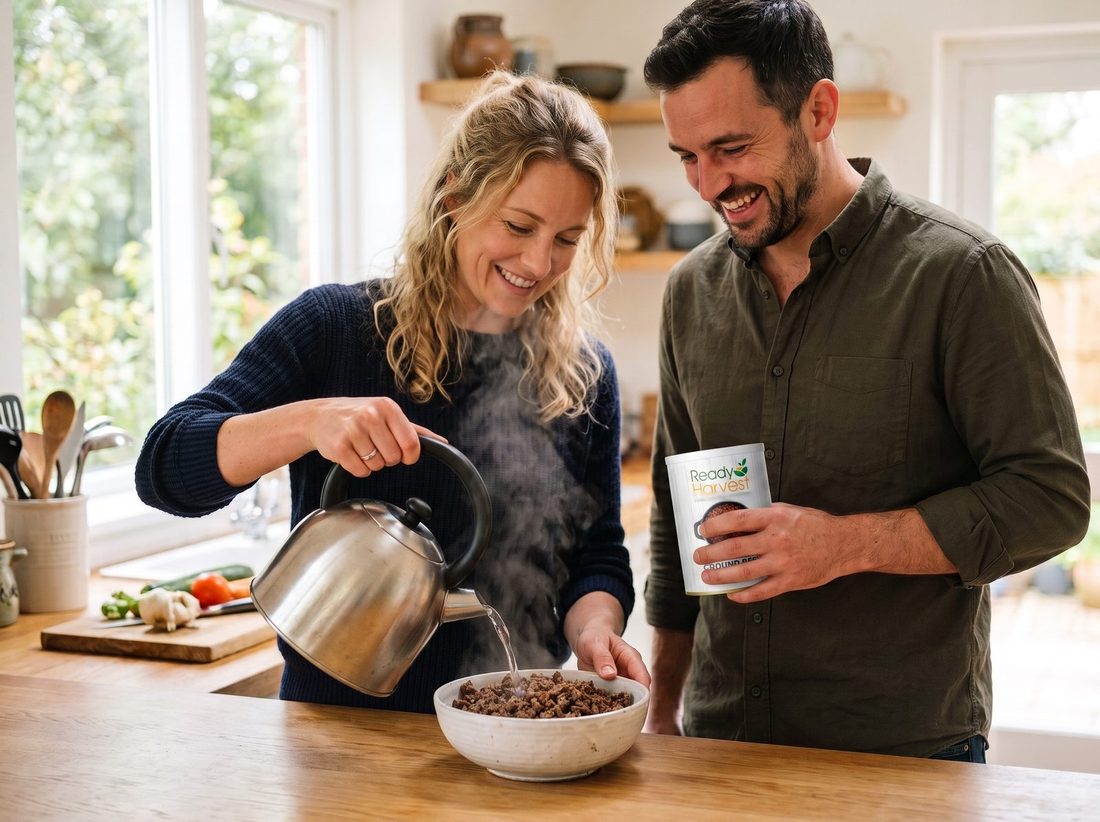
Freeze-dried meat is packed in steel cans with an oxygen absorber because that is what produces the 25-year sealed shelf life. It is the right packaging for a basement shelf and the wrong packaging for a trail.
You have two honest options.
Car camping: just take the can
If your food is riding in a vehicle to a campsite, this is a non-issue. Take the pantry can, keep the lid on, cook out of it, take it home. The can is the most robust container you own — it will not puncture, rodents cannot get into it, and it does not care about being sat on.
Backpacking: repackage before you go
For anything you carry, you portion the meat into bags at home. This is a twenty-minute job at the kitchen table and it is the single step that turns pantry food into trail food.
- Portion by meal, not by day. One serving of meat per bag, matched to whatever dish it is going into. Loose meat in a big communal bag means you are measuring with cold hands in the dark.
- Squeeze the air out. A vacuum sealer is ideal; a zip bag with the air pressed out is acceptable for a trip you are taking this month.
- Add an oxygen absorber to anything you are storing for more than a few weeks before the trip.
- Label every bag with the contents, the serving count and the date you opened the can. You will not remember in October what you bagged in June.
- Double-bag anything sharp-edged. Freeze-dried pieces have hard corners and will work a hole through a thin bag over a few days of pack movement.
The shelf life resets. Plan around it.
This is the part people get wrong, and it is worth being blunt about. The 25-year figure applies to a sealed factory can. The moment you break that seal, oxygen and humidity are in, and you are on a timeline measured in months.
Repackaging into sealed bags with an oxygen absorber slows that down considerably. It does not reset the clock. Treat your repackaged trail bags as a season's supply, not a decade's — bag what you will use across this year's trips, and leave the rest of your storage sealed.
Practically, that means opening a pantry can rather than a #10 if all you are doing is provisioning a few weekends. A #10 opened for one backpacking trip is 24 servings of meat now sitting on a months-long clock.
Water and fuel: the real constraint
Freeze-dried meat is light because the water has been taken out. On the trail, you put it back — and out there, water and the fuel to heat it are not free.
The ratio is roughly 1:1 by volume. Half a cup of hot water per half-cup dry serving, added in increments until the texture is right, then covered for 8 to 12 minutes. Diced chicken is the thirstiest of the three cuts and can want up to 1.25 times its volume.
| Cut | Starting ratio | Time |
|---|---|---|
| Ground beef crumbles | 1:1 | 8–10 min |
| Diced chicken | 1:1, up to 1.25:1 | 10–12 min |
| Pork sausage crumbles | 1:1 | 8–10 min |
So budget about half a cup of water per meat serving on top of your drinking water and whatever the rest of the meal needs. In a wet environment with streams every mile, this is noise. In a dry stretch where you are carrying four litres between sources, it is a real line item in your planning.
The trail shortcut: if the meat is going into something already wet — chili, soup, a pasta sauce, a curry — do not rehydrate it separately at all. Add it dry to the pot and increase the liquid by about the same volume. One pot, one cleanup, no separate soak.
That shortcut is worth building your entire trail menu around. It saves fuel, saves a container, and saves the ten minutes you would otherwise spend standing over a bowl while the meal goes cold.
Car camping vs. backpacking: what changes
| Car camping | Backpacking | |
|---|---|---|
| Packaging | Leave it in the can | Repackage into per-meal bags |
| Can size to buy | #10 — cheapest per serving | Pantry can — smaller commitment once opened |
| Water | Not a constraint | Add ~½ cup per meat serving to your planning |
| Cooking | Rehydrate separately, cook properly | Add dry to a one-pot meal |
| Biggest advantage | Real meat with no cooler and no ice | Protein density per gram carried |
The no-cooler point deserves more attention than it gets. On a car camping trip, freeze-dried meat removes the entire cold chain — no ice runs, no meltwater at the bottom of the cooler, no throwing out chicken on day three because you are not quite sure. That is worth as much to a family at a campground as the weight saving is to a backpacker.
Three trail meals that actually work
One-pot trail chili
Dry ground beef, instant refried bean flakes, a packet of chili seasoning, a spoon of tomato powder. Everything goes in the pot together with water, simmer eight minutes. No separate rehydration step, and it is the single most calorie-dense dinner on this list.
Chicken and rice skillet
Diced chicken with instant rice and a bouillon cube. Start the chicken a couple of minutes ahead of the rice because it is the slower of the two to come back. Add dehydrated vegetables if you carry them.
Sausage breakfast hash
Pork sausage crumbles with dehydrated hash browns and powdered egg. This is the meal that makes the biggest difference to morale on a cold morning, and it is the one most backpackers skip because they have written off breakfast as oatmeal.
For more of these, our weeknight dinners guide covers ten dishes built on the same three cuts — most of them scale down to a camp stove without changes.
When to leave it at home
Being honest about the limits is more useful than another paragraph of advantages.
- No-cook trips. If you are not carrying a stove, freeze-dried meat is close to useless. Cold-soaking works for some foods; meat is not one of the good ones. Take cured meat or tuna packets instead.
- Very dry routes. Where water is the binding constraint rather than weight, the calculus changes. Food that needs no water wins.
- Single overnight trips. For one night out, the weight saving is marginal and you may be better off carrying fresh food you actually feel like eating.
- If you have not tested it. Do not take an untried food on a trip where it is your only protein. Cook it at home first.
How much to pack
A reasonable planning figure is one to two meat servings per person per day on an active trip — one if meat is a component of a larger carbohydrate-heavy meal, two if it is carrying the protein load on a hard day.
At 41 grams per serving of ground beef, two servings a day for four days is about 330 grams — under twelve ounces of dry weight for eight servings and 176 grams of protein. That is the entire argument for doing this, in one sentence.
A pantry can holds roughly six and a half servings, which covers a long weekend for one person or a single night for a small group. A #10 can holds 24 — enough for a group trip, but remember what opening it does to your storage clock.
The short version
- Best protein-to-weight ratio you can carry: about 22 g of protein and 260 calories in a 41 g serving.
- It arrives in a can. Repackage into per-meal bags for anything you carry on your back.
- Opening the can starts a months-long clock, not a 25-year one. Buy pantry cans for trips, keep #10s sealed for storage.
- Budget about half a cup of water per meat serving, plus the fuel to heat it.
- Add it dry to one-pot meals. It rehydrates in the pot and saves you a step.
- Leave it at home on stoveless trips and very dry routes.
If you are starting from nothing, the variety pack is the sensible first purchase — one trip will tell you which of the three cuts your group actually reaches for, and everything after that is a better-informed decision.
Shop the Variety PackKnow when it is back in stock
Ready Harvest sells in batches, so the popular cuts go out of stock for weeks at a time. Leave your email and we will tell you when they are back - and when prices move. Nothing else.